Updated March 14th 2017
Today, capturing family videos can be done easily and quickly with the phone in our pocket. That hasn’t always been the case. There was a time when wedding videos, family home videos, and school performances were recorded using video cameras and then saved on VHS tapes. Whether you have a stack of VHS tapes that you’ve wanted to digitize, or you found a box of VHS tapes in your parent’s house, you can easily convert those VHS tapes to DVDs.
The first VHS tape and recording system was introduced to the world in 1956. The player cost $50,000 and a 90-minute reel of tape cost $300. Before the sticker shock floors you, these were created for professional use. The players and tapes didn’t become readily available for consumers until the late 1970s. While VCRs had about a 20-year reign as the video player/recorder for the home, things changed with the introduction of the DVD in the late 1990s. DVDs could handle higher quality video and more data. They also have a longer shelf life than VHS tapes. With VHS, the quality of the tape can degrade, and you could lose the precious memories stored on it. Not to mention you don’t see too many VCRs in homes today.
Convert VHS Tapes to DVD and Do More
Since DVD players are readily available in gaming systems, computers, and as standalone players it’s easy to watch a DVD just about anywhere. If you want to watch those family videos stored on VHS, it will just be easier to do if it’s transferred to a DVD.
Once the VHS tape is digitized, you can do a lot more with the content. You can add a menu and chapters to the disc so you don’t have to watch the entire video if you don’t want or painlessly wait while you fast forward or rewind through the content. Remember how long that could take on a VCR? If you opt for the analog-to-digital converter method (see the steps below) for digitizing VHS tapes you can do even more because you’re saving the video on your computer first.
Once the video is in a digital format on your computer, you can use a basic video-editing program that comes standard on your computer to edit it. When you have the video the way you want it, you can upload it to a video cloud service and send the link to friends and family so they can have their own copy of the video – no DVD required. Finally, you can also convert it to other formats with a tool like RealCloud, so you can watch it on a ton more devices.
A Few Essentials Before Transferring VHS Tapes to DVD
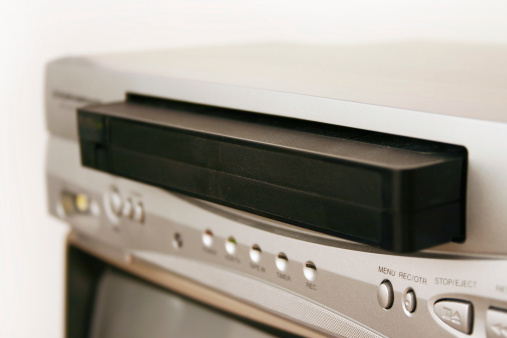
There are three basic ways to convert VHS to DVD: Use an all-in-one DVD and VCR machine; attach the VCR to a DVD recorder; get an analog-to-digital converter to attach the VCR to a computer. Regardless of the method you choose, you’re going to need a VCR. If you don’t have one, ask friends or family if they have one you can borrow. You can also pick up a used model pretty inexpensively at thrift stores, garage sales, or online at sites like eBay. If you prefer something new, some big box stores still sell combo devices.
| Method for Converting VHS to DVD |
How the VHS to DVD Conversion is Done |
Equipment Needed |
| Direct with a VHS/DVD combo player |
The combo player does all the work. |
- Combo VCR/DVD player
- Blank DVD-R disc
|
| VHS player to DVD recorder |
Connect the VCR to a DVD recorder. |
- VCR
- DVD recorder
- RCA cables
- Blank DVD-R disc
|
| VHS to computer using an analog-to-digital adapter |
Use an analog-to-digital adapter to connect the VCR to a computer. Once the video is on the computer you can share it online or burn it to DVD. |
- VCR
- Computer with a DVD burner
- Analog-to-digital adapter
- DVD burning software
- Blank DVD-R disc
|
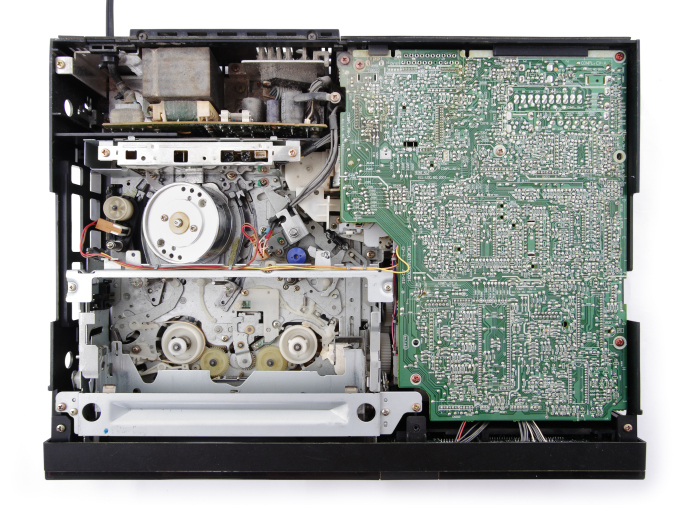
Before getting started, make sure the VCR is in good working condition. You don’t want to put in a tape containing your favorite family memories just to have the machine chew it up or ruin it. If the VCR’s heads are dirty you’re going to end up with a fuzzy picture. To clean the VCR, you can purchase a cleaning tape, which you insert into the player and it does the work for you. Conversely, you can also clean the VCR yourself using a Q-tip, blank sheet of paper, and rubbing (isopropyl) alcohol. You’ll need to unplug the player and remove the top of the VCR to clean it.
Once you’ve selected a method for transferring your old family VHS tapes to DVD you’ll want to play the tape in the VCR. There’s no telling what time has done to the tape, and it’s best to make sure the video is in good shape before getting started. It is a time-consuming process, since you have to play the entire tape to record it. There’s no way around it. If you have a 90-minute VHS tape, it’s going to take at least that long to convert it to DVD.
When picking DVD recording media you can choose between DVD-R and DVD-RW. With DVD-R, you can only record once, with DVD-RW you can record multiple times to one disc. These are memories that you want to keep, so you’re probably better off recording to DVD-R. Since VHS tapes don’t support high-quality video (aka HD), there’s no need to record to Blu-ray discs. They can be expensive, and they are for HD video. This method is for recording family videos, not copyrighted material such as movies.
Convert VHS Tapes to DVD with a Combo Player
This is probably the most direct method of the three options, but you’ll need a combo VCR/DVD player to do it. Here’s how it works:
1. Power Up
Hook up the VCR/DVD combo player to your TV and turn it on. Make sure the VCR’s heads are clean before starting the recording process.
2. Insert the VHS tape into the VCR deck
Play the video and make sure the quality is good. Rewind the tape to the beginning. If you don’t want to record the entire video, this is a good time to use the fast-forward and rewind features to set the video to the place where you want it to start recording.
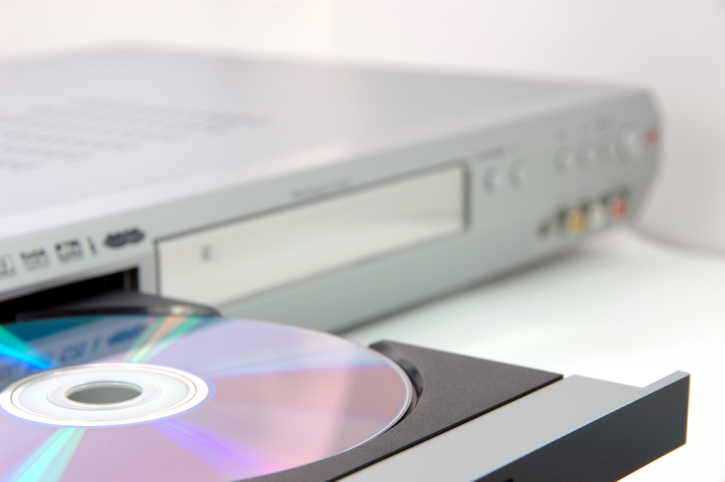
3. Insert the blank DVD-R disc into the DVD tray
Once you insert the disc, close the tray. You can also use DVD-RW media. Both will work.
4. Press record
This sounds pretty straightforward, but you might have some settings or special instructions that are unique to your VCR/DVD combo. Before you press the record button, check the manual. If you don’t have one, you can always find a manual online. Typically, there’s a record button, and the machine does all the work. When it’s finished recording, test the DVD by pressing play and watching it on the TV.
Connect a VCR to a DVD Recorder to Transfer VHS Tapes to DVD
This method isn’t quite as direct as using a VCR/DVD combo machine, but if you have a separate VCR and DVD player that also records its pretty straightforward. (Note: This is different than an external DVD burner for a computer.) The only other piece of equipment you’ll need is an RCA cable. You probably don’t need to run out and buy one of these cables. You may already have one that came with your cable box, DVD player, or even TV.
1. Make a connection
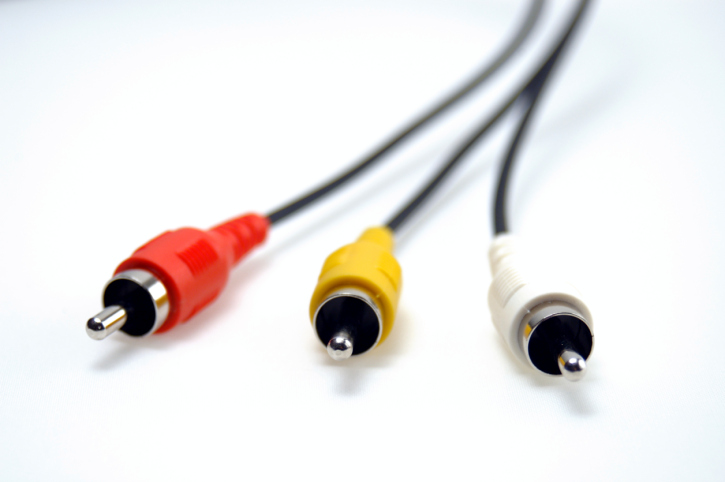
You need to connect the VCR to a DVD recorder. That’s where the RCA cable comes into play. The cable is color-coded yellow, red, and white. This is what’s used to transfer the video and full audio. You’ll want to plug the cable into the corresponding color outputs on your VCR and then plug the other end of the cable to the corresponding color-coded inputs on the DVD.
2. Insert the media
Once you’ve made sure that the video heads in the VCR are clean, insert your family VHS tape and play it. Again, if you don’t want to record the entire tape, set it to the point in the tape where you want it to start recording. At this point, you’ll also want to insert a blank DVD-R or DVD-RW disc into the DVD recorder.
3. Record it
When you’re ready to start recording, press play on the VCR and record on the DVD player. This should be a seamless process, but you may want to check your DVD recorder manual in case there’s an extra step or two needed.
How To Use an Analog-to-Digital Adapter to Convert VHS Tapes to DVD
This method takes a couple of more steps, but it’s worth it. In this process, you will be saving the video on a computer first before burning it to DVD. Once the VHS video has been transferred to a computer, you can do a lot more with it such as edit the video, convert it to different formats and watch on multiple devices, and share it with friends and family on social media sites or via a video cloud service like RealCloud.
To get started, you’ll need a VCR, a computer (with a DVD burner – an external drive will work, too), recording software and an analog-to-digital converter. If you don’t have the last item in the list, you should be able to pick a decent one up at an electronics store or on online for around $40.
1. Connect the VCR to the computer
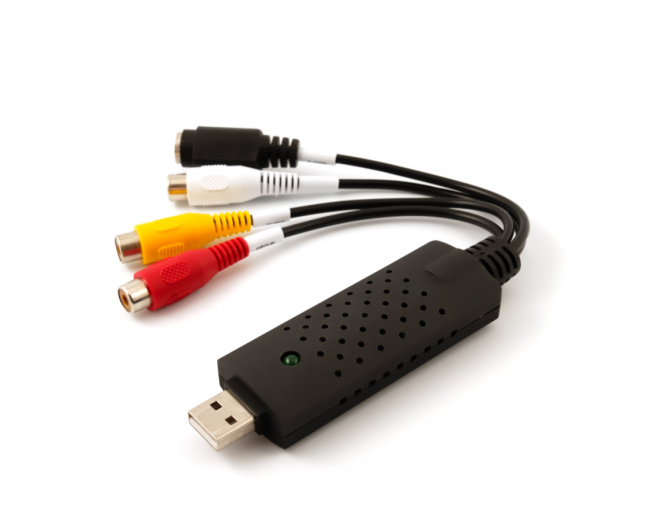
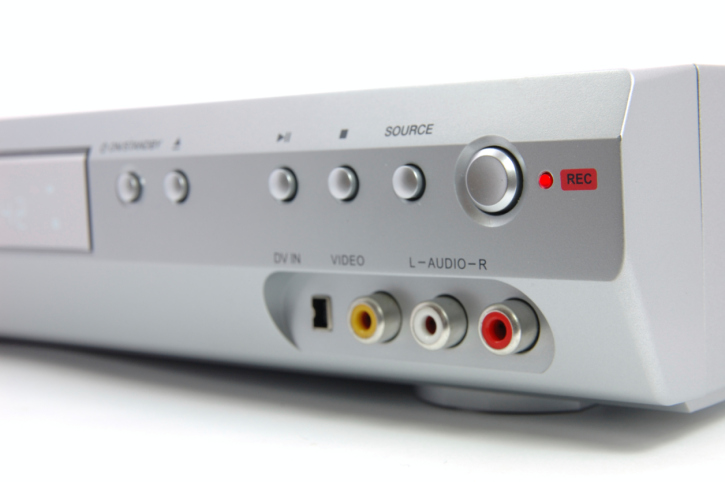
This is where the analog-to-digital converter comes into play. At the very least, one end will be USB and the other end will have a red, white, and yellow RCA cables. Connect the red, white, and yellow cables to the corresponding colored outputs on the VCR and insert the USB to the USB port on your computer.
2. Insert the media
As mentioned previously, before you insert the VHS tape into the VCR, you’ll want to make sure the heads are clean. Insert the DVD-R or DVD-RW disc into the DVD burner.
3. Open the software on your computer
Many analog-to-digital converters will come with software that will transfer the VHS tape to the computer. However, you can also use software that you may already have. Windows users, for example, can use Windows Movie Maker. While Mac users can use iMovie to import and burn the video. The benefit of one of these methods is that you can then edit the movie or share it with others online before burning it to DVD. However, you’ll need to have the available space on your hard drive to accept the video. Figuring that out depends on the length of the content on the VHS tape, For example, a half hour VHS tape could take up to 43GBs of space on your hard drive. This is why you’ll want to burn the digitized video to DVD, upload it to a video cloud service, or convert it to a video format that takes up less space such as MP4.
Open the software on your computer and follow the prompts to import the video.
4. Burn the video to DVD
At this point, if you’re computer automatically goes into sleep mode, you’ll want to disable that feature. It’s more of a precaution to make sure you don’t have any problems burning the DVD. These next steps depend on the software that you’re using. Once you import the video, you can edit the content and add features such as chapters and menus. These will make navigating the content much easier. It’s also ideal if you have a bunch of VHS tapes of family videos and just want to store it on a single DVD.
Learn how to burn DVDs using Real
There you have it, three ways to convert your family videos stored on VHS tapes to DVD. The method that gives you the most flexibility with the content is using a computer and an analog-to-digital converter since you’re saving the video on your computer first. Once the video is digitized, you can edit it, create snippets of the video, and even save some of the footage as images that you can share with friends and family. However, the initial video will take up quite a bit of storage space on your computer, so you’ll want to convert into a format that doesn’t take up a lot of space or upload it to a video cloud service. If you upload it to a service such as RealTimes you can easily share the video with friends and family. Best of all it will convert the video to a format that will play seamlessly on their device and it will never take up any space on their computer unless they decide to download it. Regardless of which method you choose, you now have your precious family videos saved in a more reliable format so you can enjoy and preserve them for years to come.
Download RealPlayer to Play Converted VHS Videos
Watch Your Videos Anywhere. You just need RealPlayer with RealTimes to do it!
Want to access your movie library from any device? Download RealPlayer then you can watch your videos them on your phone, tablet, and even your TV with the RealTimes App.

Stream your converted VHS video in RealPlayer with RealTimes. Try it now for free to see how easy it is to organize and share your media from your phone to friends, family and co-workers.